Master Window AC Installation: How to Seal, Support, and Secure Your Unit
10 Views
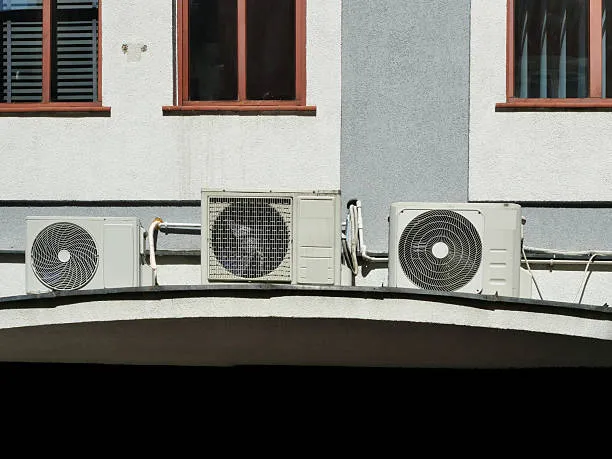
A window unit can make a stuffy room livable in minutes, but only if it sits right. A unit that is loose, tilted the wrong way, or leaking air will cool poorly, drip on your wall, and in the worst case fall out of the frame. The good news is that a safe setup does not need special skills. It needs patience, a few cheap materials, and attention to three things: support, sealing, and security. If you would rather have a trained hand do it, the team at Insta Service handles this kind of job every day. For everyone else, here is the full walkthrough.
Step 1: Pick the Right Window and Spot
Before you lift anything, look at the window itself. Double-hung windows (the kind that slide up and down) are the easiest. Casement and sliding windows need extra brackets or a custom panel, so check your unit's manual first.
Things to check:
- Frame strength. Press on the sill. If it flexes or the wood feels soft, reinforce it before going further.
- Shade. A window that gets less afternoon sun makes the unit work less.
- Power access. Keep the plug within reach of a dedicated outlet. Extension cords and power strips are a fire risk with a high-draw appliance.
- Clearance outside. Make sure nothing blocks the back of the unit, such as a thick hedge or a wall a few inches away.
Two people should always handle the lift. Most units weigh 25 to 40 kg, and dropping one from an upper floor is a real danger to anyone below. Get professional and efficient Window AC Installation services with Insta Service.
Step 2: Gather Your Tools and Materials
Having everything on hand saves you from holding a heavy box over a sill while hunting for a screwdriver.
|
Item |
What It Does |
Notes |
|---|---|---|
|
Support bracket or L-brace |
Carries the unit's weight from below |
Essential for heavy models |
|
Foam weatherstrip tape |
Blocks air leaks around the frame |
Choose closed-cell foam for durability |
|
Side accordion panels |
Fill the gaps beside the unit |
Usually included in the box |
|
Wood screws and drill |
Fix the window sash in place |
Pre-drill to avoid splitting wood |
|
Spirit level |
Confirms the unit tilts slightly outward |
A phone level app works in a pinch |
|
Measuring tape |
Checks the window opening |
Measure width and height twice |
|
Work gloves |
Protects hands from sharp metal fins |
Skip this and you will regret it |
Step 3: Support the Unit Properly
The window sash is not designed to carry an air conditioner alone. Treat it as a guide, not a shelf.
- Open the window fully and clean the sill and track.
- Fit the mounting rail or bracket as the manufacturer shows, so the weight rests on the sill and the outside wall.
- With a helper, lift the unit and set it on the sill, centered in the opening.
- Keep your grip on it until the sash is lowered onto the top of the frame.
The unit should tilt about 1 to 2 degrees toward the outside. That small slope lets condensation drain away from your room rather than collecting inside. Place the level on top of the case and adjust the bracket until the bubble leans outward slightly.
If part of the unit hangs far out of the window, add a second bracket underneath. Never rely on the plastic side panels to hold any weight.
Step 4: Seal Every Gap
Air leaks are the quiet reason many rooms never cool down. Warm air slips in around the edges, and the compressor runs longer to fight it.
- Extend the side panels until they touch the window frame, then screw them in lightly.
- Press foam tape along the top where the sash meets the case and along the bottom where the unit meets the sill.
- Seal the center gap between the upper and lower sash with a strip of foam or a rigid insert.
- Check for daylight. Turn off the room lights on a bright day and look for thin lines of light around the unit. Light means air can pass through.
Avoid permanent caulk if you rent or plan to remove the unit each winter. Removable foam and mounting tape are cleaner and cheaper than repainting a sill.
Step 5: Secure It Against Falls and Intruders
Once the unit is sealed, lock it into place.
- Drive a short screw through the top of the sash into the window frame so the window cannot be lifted.
- Attach the safety bracket that comes with most units to hold the case in position.
- Fix the side panels with screws so they cannot be pushed in from outside.
- If you live on a ground floor, add a small security bar or lock for peace of mind.
Wind, vibration, and daily use can slowly loosen hardware. Recheck every screw after the first week, then once a season.
Common Mistakes to Avoid
|
Mistake |
Why It Hurts |
Quick Fix |
|---|---|---|
|
Tilting the unit inward |
Water drips into the room |
Re-level with a slight outward slope |
|
Skipping the bracket |
Sash bends or cracks over time |
Add an L-brace under the case |
|
Gaps around the sides |
Higher electricity bills |
Use foam tape and panel screws |
|
Using a thin extension cord |
Overheating and tripped breakers |
Plug directly into a wall outlet |
|
Blocking the rear vent |
Reduces cooling and strains the motor |
Trim plants and keep clearance |
|
Skipping the filter check |
Poor airflow and musty smell |
Clean the filter every two weeks |
Test Before You Call It Done
Plug the unit in and switch it on. Let it run for 15 minutes and check three things. First, cold air should be flowing steadily from the vents. Second, you should hear a hum, not rattling or loud vibration. Third, there should be no water inside the room. A small drip outdoors is normal. If anything buzzes, tighten the screws and press the foam against the loose spot.
Seasonal Care That Protects Your Setup
A good setup lasts longer with a little care. Wipe the filter with mild soap and water every couple of weeks during heavy use. Straighten any bent fins with a fin comb. At the end of summer, remove the unit or cover the outside with a fitted cover, and keep the foam seals for reuse. Before the next season, inspect the bracket for rust.
When to Ask a Professional
Some jobs are better left to experts: upper-floor windows, older wooden frames, unusual window shapes, or units that weigh over 40 kg. A pro will have the right brackets, safe lifting gear, and the experience to spot weak sills before they fail. A short visit from Insta Service can save you from a costly repair or an unsafe setup.
Frequently Asked Questions
- How tight should the unit sit in the window?
- Snug, not forced. The case should rest firmly on the sill with the sash lowered on top, with no rocking when you push gently.
2. Why is water dripping inside my room?
Most often the unit is tilting inward or the drain hole is blocked. Re-level it to slope slightly outside and clear the drain with a thin wire.
3. Can I install a unit in a sliding window?
Yes, but you will need a vertical mounting kit or a custom panel. Standard kits are made for windows that lift up and down.
4. What is the best material to seal the gaps?
Closed-cell foam tape and the supplied accordion panels work well. They block air, stay flexible, and peel off cleanly later.
5. Is a bracket really necessary?
For any unit that overhangs the sill or weighs more than about 20 kg, yes. A bracket protects both the window and the people below.
6. How often should I check the setup?
Check screws and seals after the first week, then at the start and middle of each cooling season.
7. Can I leave the unit in all year?
You can, if it is well sealed and covered on the outside. Removing it for winter extends its life and stops cold drafts.
Related Reading
Expert Insights: Navigating the Complex World of Home Improvement
Welcome to our in-depth exploration of Home Improvement. In an era defined by ra...
Why Home Improvement is Transforming the Global Industry Landscape
Welcome to our in-depth exploration of Home Improvement. In an era defined by ra...